
Summary:
What Causes a Dryer to Take Too Long to Dry Clothes
When your dryer takes multiple cycles to finish a load, the issue almost always comes down to airflow. Your dryer works by pulling in air, heating it, tumbling it through wet clothes, and then pushing that hot, moist air out through the vent. If that air can’t escape properly, moisture stays trapped inside the drum and your clothes stay damp.
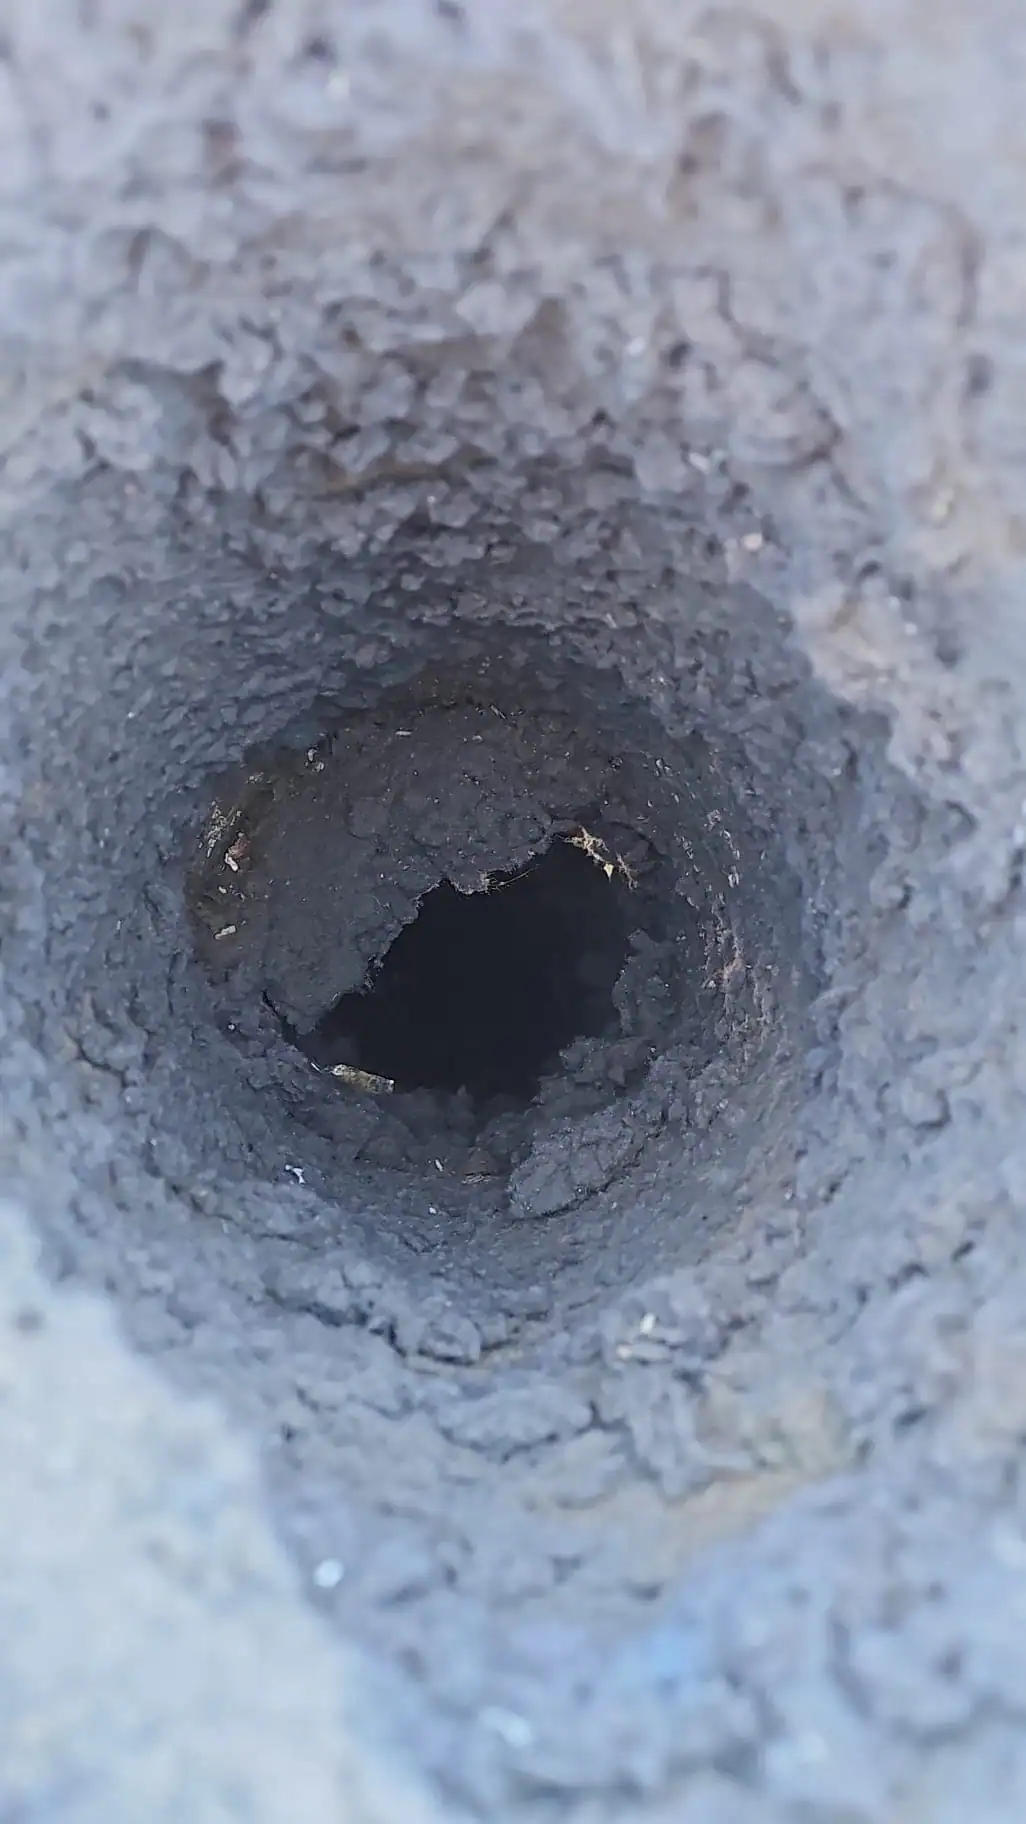
The most common culprit is lint. Every time you dry a load, tiny fibers break off from your clothes. Your lint trap catches some of it, but not all. The rest travels through the dryer and into the vent system, where it sticks to the walls and slowly builds up. Over weeks and months, that buildup restricts airflow more and more until your dryer can barely breathe.
Reno’s climate adds another layer to the problem. The altitude here reduces dryer efficiency to begin with, and the combination of low humidity and dusty conditions means more particles get pulled into your system. That’s why homeowners throughout Washoe County often notice dryer problems sooner than folks in other regions.
How a Clogged Dryer Vent Restricts Airflow and Causes Overheating
Think of your dryer vent like a highway. When it’s clear, air moves freely from your dryer to the outside. But when lint builds up, it’s like adding traffic cones and construction barriers—the flow slows to a crawl, and eventually, things back up completely.
That backup creates a chain reaction. First, the hot, moist air that should be venting outside gets trapped in the drum. Your clothes tumble around in humid air instead of dry air, which means they never fully dry. You notice this when you pull out a load that feels warm but still damp, or when towels come out stiff and musty.
Second, the heat has nowhere to go. Your dryer’s heating element keeps firing, trying to do its job, but all that heat just builds up inside the machine and the vent system. The outside of your dryer gets hot to the touch. The laundry room feels like a sauna. And if things get bad enough, the dryer’s safety sensors start kicking in, shutting the machine down mid-cycle to prevent damage.
Here’s where it gets serious: lint is extremely flammable. When you combine restricted airflow with excessive heat and a vent full of combustible material, you’ve created the perfect conditions for a fire. According to the National Fire Protection Association, dryer fires account for an estimated 15,970 home fires annually, with 92% caused by dryers specifically. The leading cause? Failure to clean. That’s not a scare tactic—it’s the reality of what happens when airflow gets cut off and temperatures spike.
The overheating also wears out your dryer faster. The motor, heating element, and internal components weren’t designed to run continuously under stress. When your machine has to work twice as hard to dry half as much, parts fail sooner and you’re looking at expensive repairs or replacement years before you should be.
Most people don’t realize how quickly lint accumulates, especially in longer vent runs or systems with multiple bends. Even if you clean your lint trap religiously after every load, you’re only catching part of the problem. The rest is building up where you can’t see it, creating a hidden hazard that gets worse every time you run the dryer.
Warning Signs Your Dryer Vent Is Clogged and Needs Cleaning
Your dryer will tell you when something’s wrong—you just need to know what to listen for. The most obvious sign is extended drying time. If a normal load that used to take 35 to 45 minutes now takes an hour or more, that’s your first red flag. When you’re running clothes through two or three cycles just to get them dry, you’re not dealing with a finicky machine—you’re dealing with a clogged vent.
Pay attention to temperature too. If your clothes come out unusually hot, or if the outside of the dryer feels too warm to touch comfortably, that heat is trapped instead of venting properly. Same goes for the laundry room itself. When the room gets noticeably warmer during a drying cycle, or when you see moisture condensing on windows or walls, that’s hot, humid air that should be outside.
Burning smells are an immediate warning. If you catch even a faint burning odor while the dryer’s running, stop the machine and don’t use it again until you’ve had the vent inspected. That smell usually means lint near the heating element is scorching—and scorching is one step away from igniting.
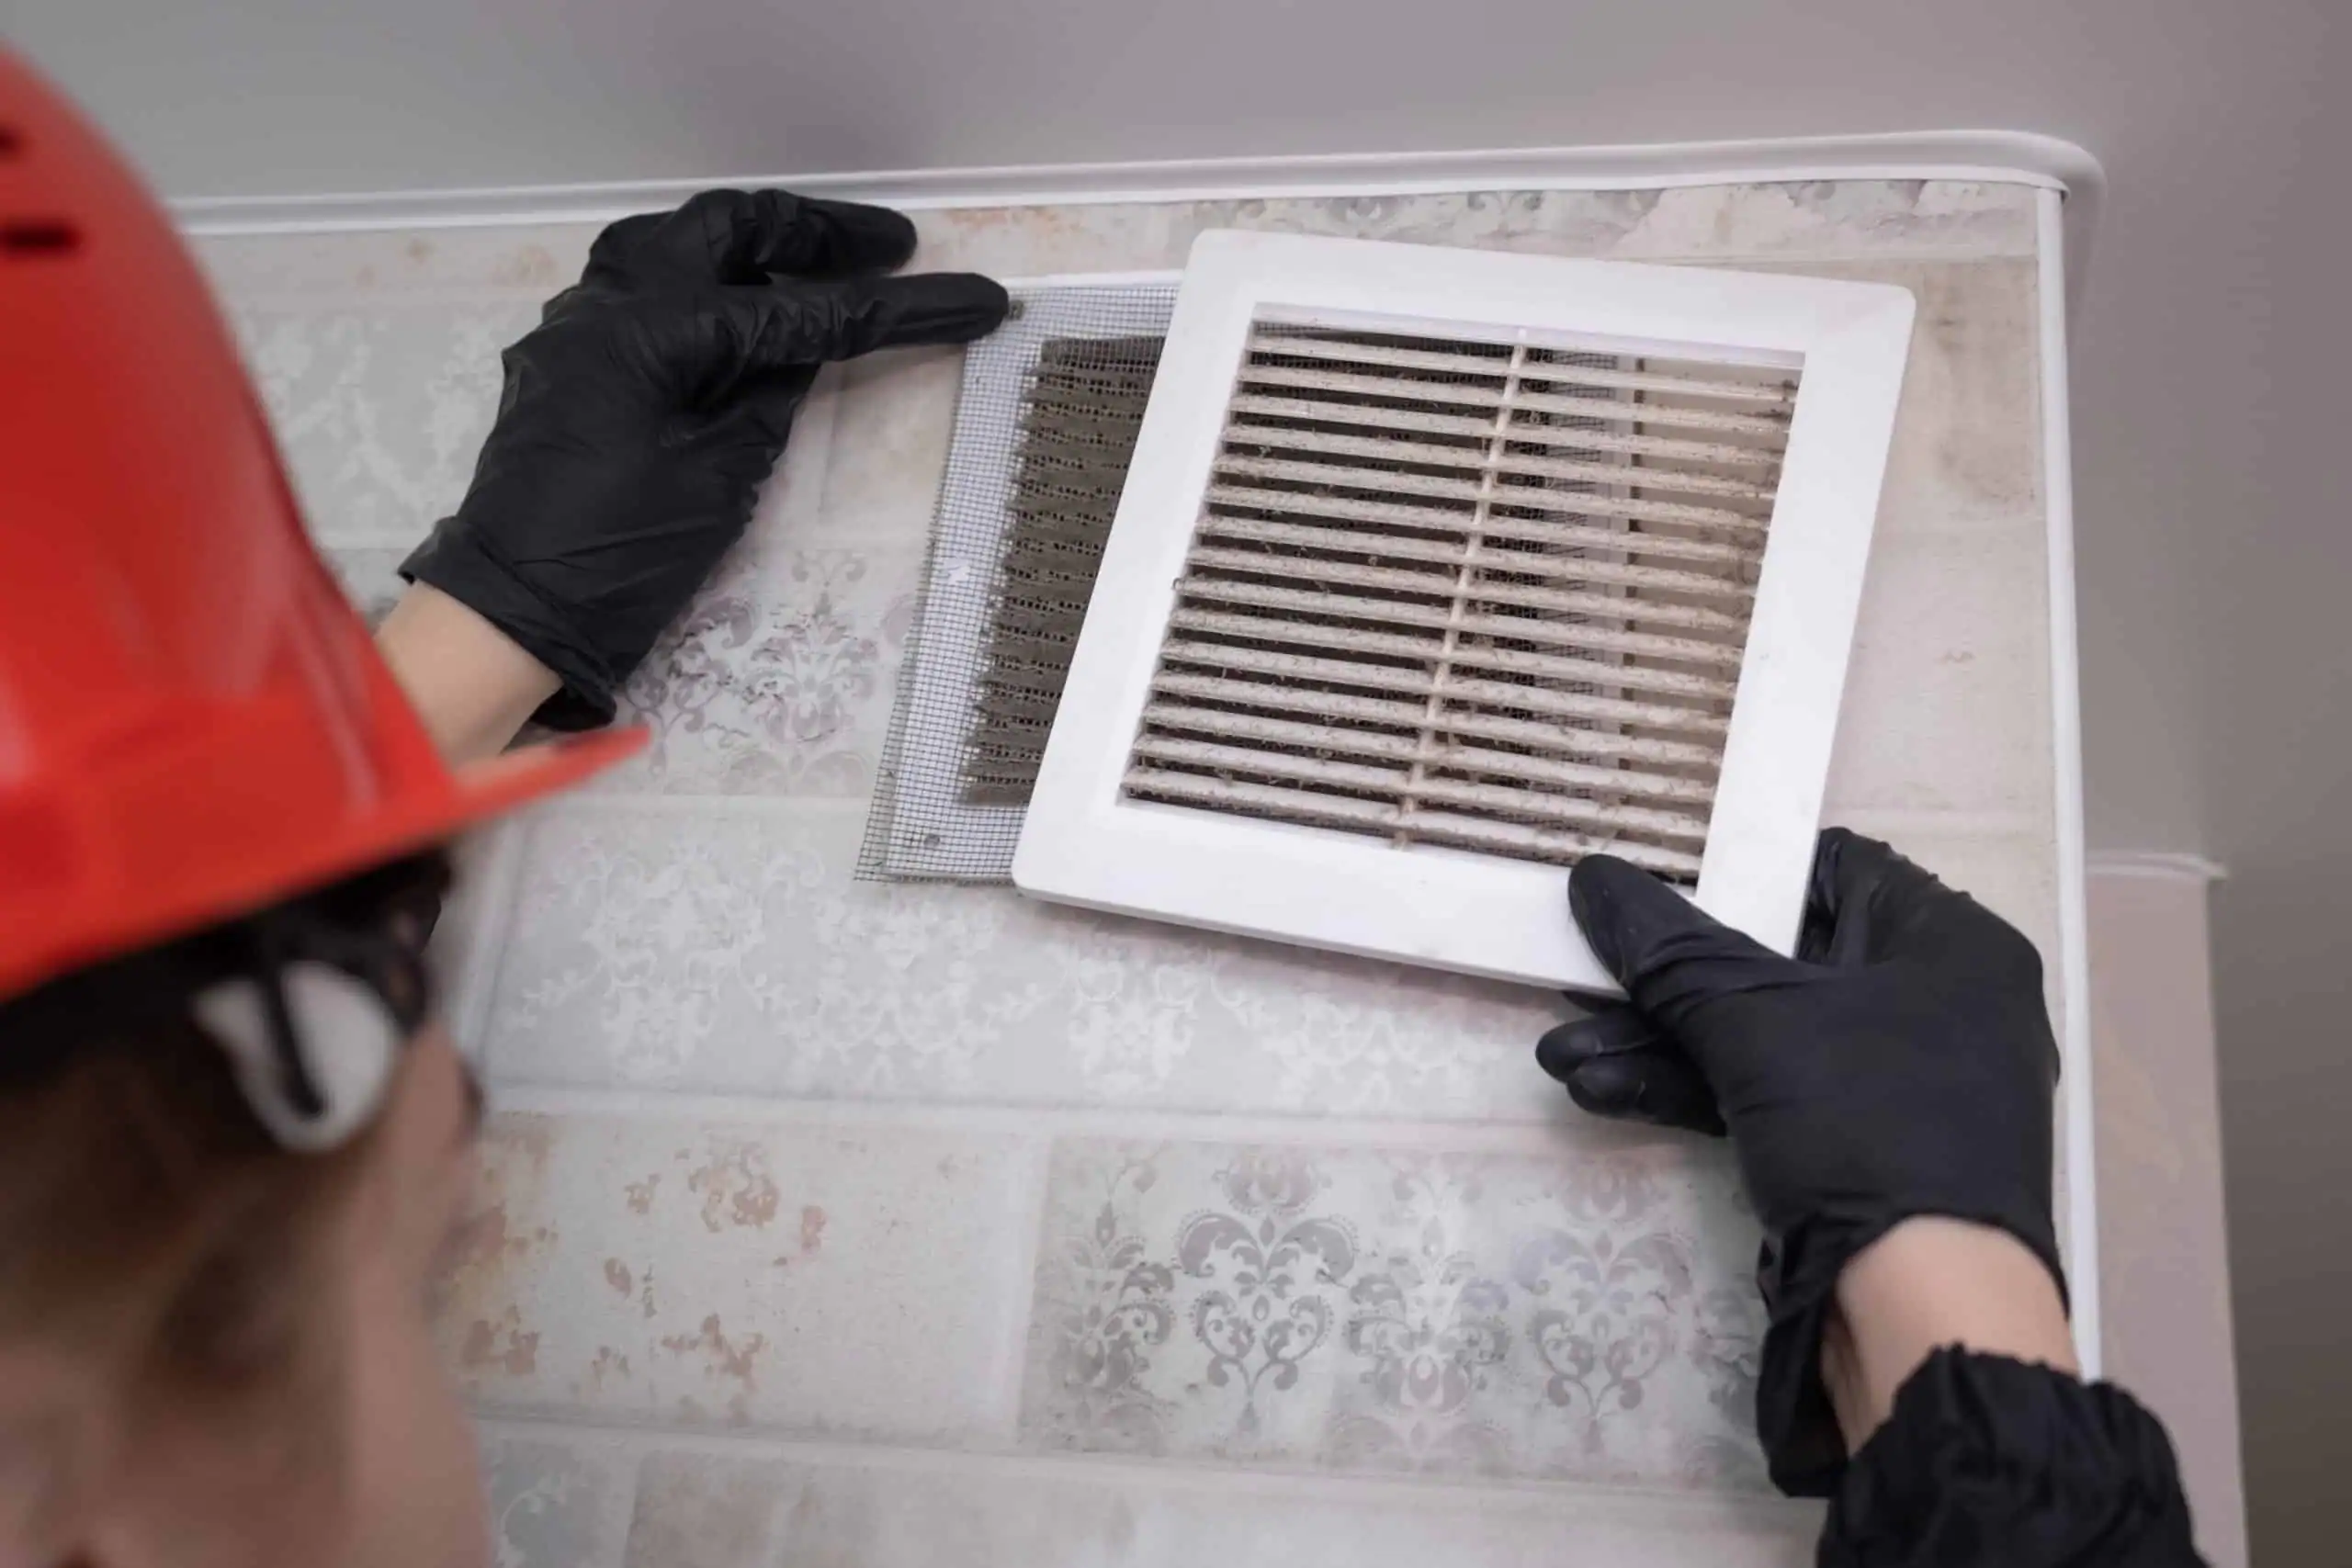
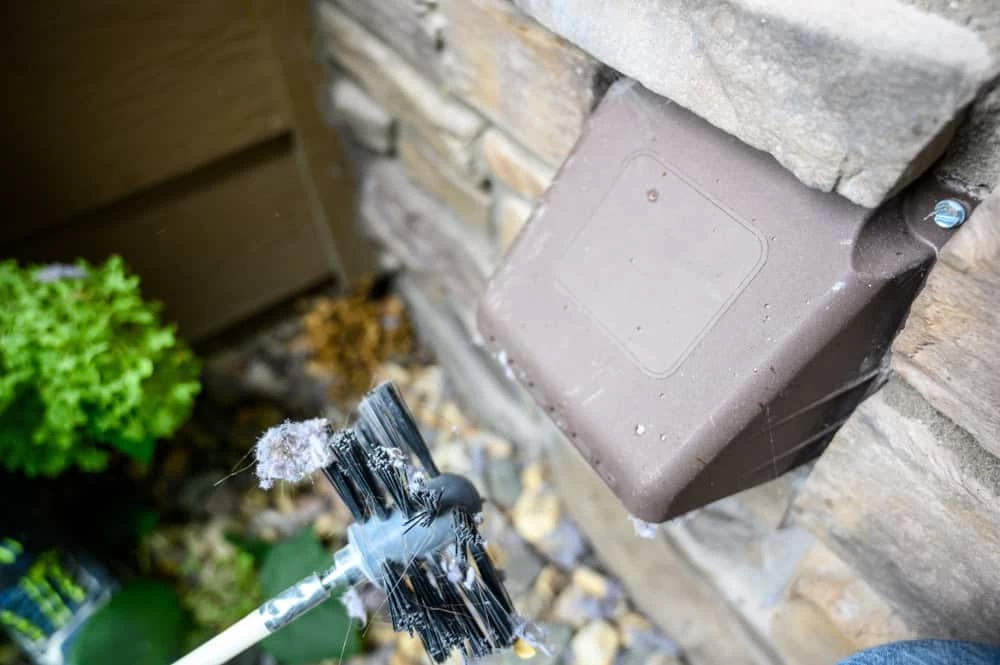
Check your outside vent opening too. When the dryer’s running, you should see and feel a strong flow of air coming out. If there’s barely any airflow, or if you notice lint accumulating around the exterior vent cover, that’s a clear sign of blockage. Birds and rodents sometimes build nests in dryer vents—particularly common in Reno’s suburban neighborhoods—which creates an instant and total obstruction.
Your lint trap can also give you clues. If it’s filling up faster than usual, or if you’re finding lint in strange places—on your clothes after drying, around the dryer door, or on the floor near the machine—that means lint is bypassing the trap and circulating through areas it shouldn’t be. Ironically, if your lint trap seems cleaner than normal, that can also indicate a problem. It might mean lint is getting trapped deeper in the vent system instead of making it to the filter.
Energy bills offer another indicator. A clogged dryer vent forces your machine to run longer and work harder, which shows up as increased electricity or gas usage. If your utility bills have crept up without an obvious explanation, your dryer might be the culprit. A clogged vent can add $20 to $40 per month to your energy costs with a gas dryer—and up to three times that amount with an electric dryer.
Most homeowners don’t connect these dots until multiple symptoms appear. You might write off longer drying times as the dryer getting old, or blame damp clothes on overloading. But when you step back and look at the full picture—extended cycles, excess heat, higher bills, burning smells—the pattern points directly to restricted airflow from a clogged vent.
How Professional Dryer Vent Cleaning in Reno Restores Performance
Professional dryer vent cleaning does what DIY methods can’t—it clears the entire vent system from the dryer to the outside termination point, removing all the lint, debris, and obstructions that have built up over time. The difference comes down to equipment, technique, and thoroughness.
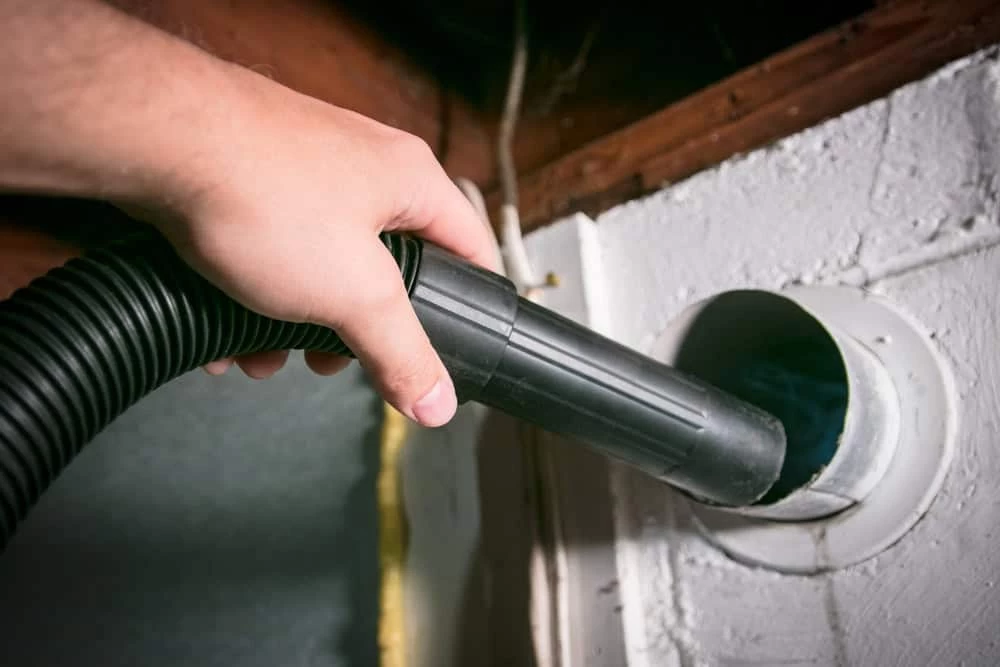
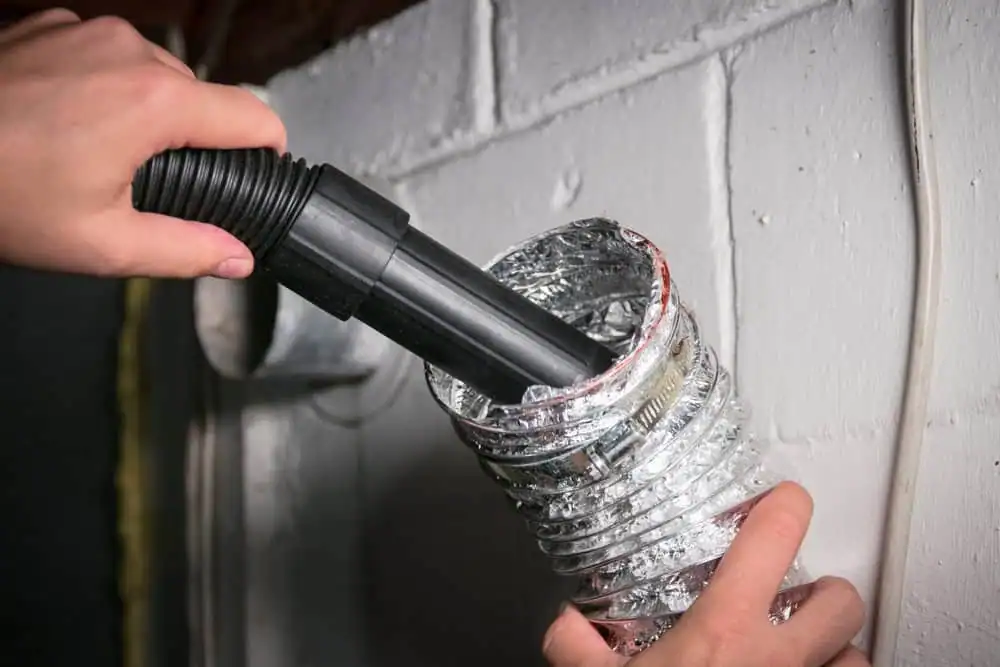
We use specialized tools designed specifically for dryer vents. High-powered vacuums, rotary brushes, and compressed air systems reach deep into the ductwork, dislodging compacted lint from the walls and extracting it completely. These aren’t the kind of tools you’ll find at a hardware store. They’re industrial-grade equipment that can navigate long runs, tight bends, and vertical sections that DIY kits simply can’t handle.
The process also includes inspection. We don’t just clean what’s visible—we assess the entire system for damage, improper installation, code violations, or structural issues that contribute to lint buildup. Things like crushed ducts, disconnected joints, or improper materials get identified and addressed, which prevents the problem from coming right back.
The Professional Dryer Vent Cleaning Process Step by Step
Understanding what happens during a professional cleaning helps you see why it’s worth the investment. We start by inspecting your dryer and vent system. We’ll turn the dryer on and check the airflow at the exterior vent to gauge how restricted the system is. Weak airflow or no airflow confirms a blockage.
Next, we disconnect the dryer from the vent and access the ductwork from both ends—inside at the dryer connection and outside at the termination point. Using specialized brushes attached to flexible rods, we work through the entire length of the vent, scrubbing the walls to break up compacted lint. As the brushes dislodge the buildup, powerful vacuums capture and remove the debris so it doesn’t get pushed further into the system or blown into your home.
For longer or more complex vent runs, we might use compressed air or reverse airflow techniques to ensure every section gets cleaned. We’ll also inspect the exterior vent cover to make sure it opens freely and isn’t blocked by lint, leaves, or animal nests. If we find any damage—like holes in the ductwork, loose connections, or improper materials like flexible plastic or foil—we’ll point it out and recommend repairs.
Once the cleaning is complete, we reassemble everything, making sure all connections are secure and properly sealed. We’ll run the dryer again to verify that airflow is restored and the system is functioning correctly. We also provide before-and-after photos so you can see exactly what was removed and confirm the work was done right.
The whole process typically takes between 30 minutes to an hour, depending on the length and complexity of your vent system. When it’s done, you’ll notice the difference immediately. Your dryer will dry clothes in one normal cycle, the machine won’t overheat, and your laundry room will stay cool. You’ll also have peace of mind knowing the fire hazard has been eliminated and your dryer is running efficiently again.
What makes professional cleaning different from DIY is the depth and completeness. Store-bought cleaning kits might clear some lint near the dryer, but they rarely reach the full length of the vent—especially if your ductwork runs through walls, makes multiple turns, or vents through the roof. Those kits also can’t address underlying issues like damaged ducts or improper installation. A professional cleaning handles all of it in one visit.
DIY Dryer Vent Cleaning vs Professional Service: What Actually Works
You’ve probably seen the dryer vent cleaning kits at the hardware store and wondered if you could just handle this yourself. It’s a fair question, and the answer depends on your vent system and what you’re trying to accomplish.
DIY cleaning can work for simple setups—short, straight vent runs of four feet or less that go directly through an exterior wall. If that describes your situation and you’re just doing routine maintenance, a basic kit with a brush and vacuum attachment might be enough to keep things clear between professional cleanings. The cost is low, usually $20 to $50, and you can do it on your own schedule.
But most homes don’t have simple setups. Dryer vents often run through walls, make 90-degree turns, travel vertically, or extend 15 to 35 feet before reaching the outside. DIY kits aren’t designed to handle that kind of complexity. The brushes aren’t long enough, they can’t navigate tight bends, and they lack the power to dislodge compacted lint that’s been building up for months or years. Worse, the rods can get stuck or break off inside the ductwork, turning a maintenance task into a repair job.
There’s also the issue of thoroughness. When you use a DIY kit, you’re working blind. You can’t see what’s happening deep in the vent, so you don’t know if you’ve actually cleared the blockage or just moved lint around. You might feel like you’ve done something, but then the dryer still takes too long to dry and you’re back where you started—except now you’ve wasted time and effort.
Professional cleaning eliminates that guesswork. We have the tools to reach every section of the vent, the experience to know what to look for, and the equipment to verify the job is done right. We can also spot problems you’d never catch on your own—things like crushed ducts behind the dryer, disconnected joints inside the walls, or exterior vents blocked by animal nests. Those issues require more than a brush on a stick to fix.
Safety is another factor. Climbing on the roof to access a vent termination point, disconnecting gas dryers, or working with ductwork in tight spaces all carry risks. If something goes wrong—if you damage the vent, create a gas leak, or can’t reassemble everything properly—you’ve created a bigger hazard than you started with. We’re trained to handle these situations safely and know how to work within building codes.
The cost difference is real but not as significant as you might think. Professional dryer vent cleaning in Reno typically runs between $100 and $200, depending on the length and complexity of your system. That might seem like a lot compared to a $30 DIY kit, but consider what you’re getting: complete cleaning, professional inspection, safety verification, and the confidence that the job was done right. Plus, when you factor in the energy savings from a properly functioning dryer—$20 to $40 per month or more—the service pays for itself within just a few months.
Here’s the bottom line: if you have a short, simple vent and you’re just doing light maintenance, DIY might be fine. But if your clothes are taking too long to dry, if you’re dealing with overheating or burning smells, or if you haven’t had your vent cleaned in a year or more, professional service is the smarter choice. You’ll get better results, avoid potential safety issues, and save yourself the frustration of a half-done job.
Get Your Dryer Working Right Again with Dryer Vent Cleaning in Reno
Clothes that take too long to dry aren’t just an inconvenience—they’re a sign that something’s wrong with your dryer vent system. Lint buildup restricts airflow, forces your dryer to work harder, wastes energy, and creates a fire hazard that puts your home and family at risk. In fact, 34% of all dryer fires stem from failure to clean vents, making this one of the most preventable home safety issues.
Professional dryer vent cleaning in Reno fixes the problem at the source. You’ll get faster drying times, lower energy bills, a safer home, and a dryer that lasts longer. More importantly, you’ll have peace of mind knowing the job was done right by someone who knows what they’re doing.
If you’re tired of running your dryer multiple times per load, or if you’ve noticed any of the warning signs we’ve talked about—overheating, burning smells, high energy bills—it’s time to get your vent cleaned. We’ve been helping homeowners throughout Northern California for over a decade, with transparent pricing, professional service, and a commitment to keeping your home safe and your dryer running efficiently.